

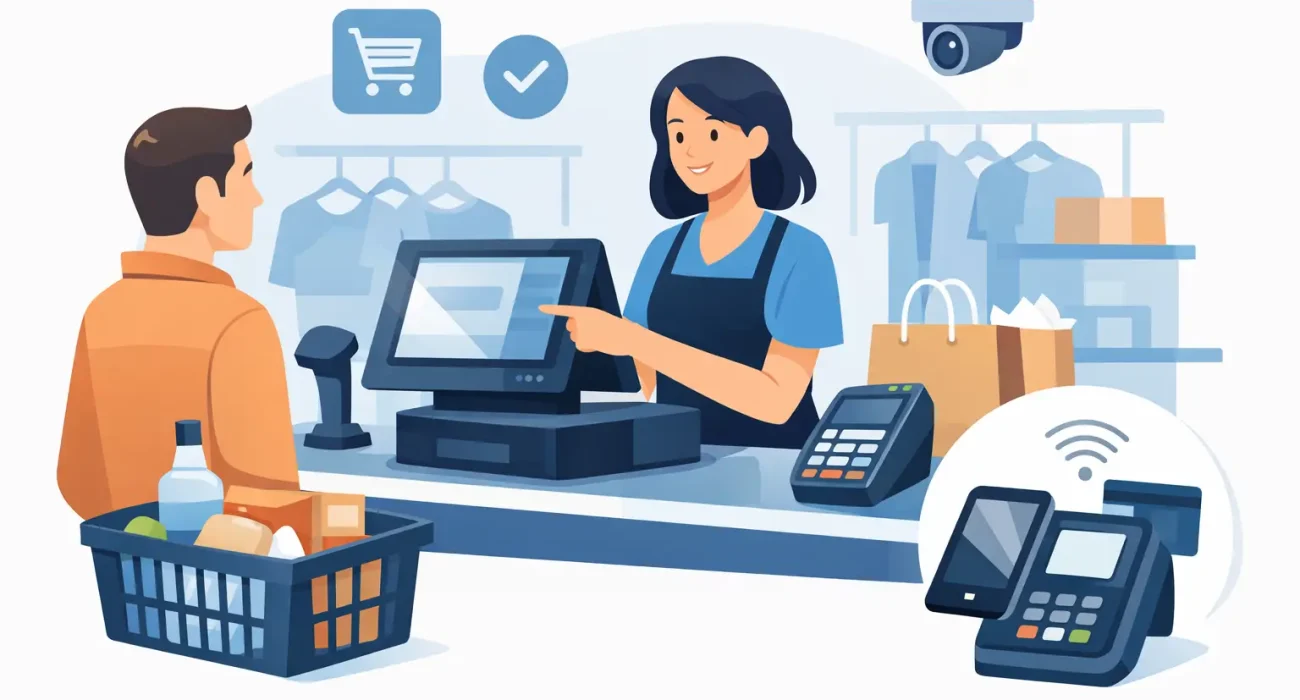
The checkout counter is where retail operations either feel organized or fall apart. If lines build, payments fail, receipts confuse customers, or staff need constant help, the issue usually is not just speed – it is setup. Knowing how to set up retail checkout the right way affects daily sales, inventory accuracy, staff confidence, and the customer experience from the first week onward.
For new stores, the temptation is to treat checkout as a final task after shelving, signage, and product sourcing. For established retailers, it is common to keep using a system that no longer fits the business. In both cases, checkout needs to be planned as an operational hub, not just a place to take payment.
How to set up retail checkout with the right foundation
A strong checkout setup starts with understanding how your store actually sells. A fashion boutique, mini mart, electronics shop, and specialty retailer all need different counter layouts, barcode practices, and payment flows. The right setup depends on transaction volume, average basket size, product complexity, and how often staff need to handle returns, discounts, exchanges, or customer questions.
Before choosing equipment or software, define what the checkout must handle every day. That usually includes product scanning, payment processing, receipt printing or digital receipts, cash management, discounts, returns, tax settings, and inventory updates. If your business also runs promotions, loyalty programs, delivery orders, or multiple branches, those requirements should be part of the plan from the start.
This is where many businesses lose time and money. They pick a POS system first, then try to force their operations around its limitations. A better approach is to map the workflow, then select tools that support it.
Start with your POS software
Your point-of-sale software is the core of the checkout process. It connects sales activity with inventory, pricing, reporting, and in many cases customer records. If the software is slow, difficult to use, or poorly configured, even good staff will struggle.
Look for a retail POS that matches your business size and selling model. A small store with one lane may need simple but reliable features. A growing business with multiple cashiers, categories, and branch locations will need stronger reporting, centralized product management, and tighter user controls. If you sell both in-store and online, integration becomes even more valuable because it reduces duplicate work and stock mismatches.
Ease of use matters more than long feature lists. A checkout screen should allow staff to process a sale quickly, search products without delay, apply discounts with permissions, and complete returns without confusion. Reports should be clear enough for owners and managers to use without relying on technical support every day.
It also helps to think beyond opening day. If you plan to expand product lines, add users, or introduce promotions, your POS should be able to grow with you rather than forcing a replacement six months later.
Configure products and pricing carefully
A checkout system is only as reliable as the data inside it. Product names, SKUs, barcodes, prices, tax rules, and categories need to be entered correctly from the beginning. If this stage is rushed, staff will spend their day fixing wrong prices, searching for missing items, and manually overriding transactions.
Take time to standardize your product catalog. Similar items should follow the same naming structure. Variants such as size and color should be easy to identify. Promotions should be configured in the system rather than left to cashier judgment whenever possible. That creates consistency and reduces disputes at the counter.
Choose hardware that fits the store environment
Retail checkout hardware should support speed and reliability, not add clutter. The essential setup usually includes a POS terminal or tablet, barcode scanner, receipt printer, cash drawer, and card payment device. Depending on the business, you may also need a customer display, label printer, weighing scale, or handheld device for mobile checkout.
The counter layout matters more than many retailers expect. Staff should be able to scan, bag, collect payment, and print receipts with minimal movement. If hardware is awkwardly placed, checkout becomes slower and more tiring during busy periods. This is especially noticeable in stores with limited counter space or high foot traffic.
Durability is another practical concern. Retail hardware gets used constantly. A cheaper device that fails during peak hours can cost more than a better unit that runs consistently. Payment terminals should also support the payment methods your customers expect, including tap-to-pay and card transactions that are now standard in most markets.
Plan the customer flow around the counter
A checkout area should reduce friction, not create it. That means thinking about how customers approach the counter, queue, pay, collect their items, and leave the store. In small shops, one poorly placed display stand can block movement and slow every transaction. In larger stores, unclear queue direction can create confusion and frustration.
If your business regularly has short lines, a simple single-lane setup may be enough. If peak hours bring heavier traffic, you may need a clearer queue path, more than one register, or a mobile checkout option for fast-moving sales periods. The right answer depends on your floor plan and average transaction speed.
Good checkout design also supports upselling without disrupting service. Small add-on items near the counter can work well, but only if they do not interfere with payment space, scanner access, or customer movement.
Set up payments, permissions, and controls
A professional checkout process is not just about processing sales. It is also about reducing errors and protecting the business. Payment settings, staff permissions, and approval workflows should be defined early.
Your system should clearly separate what a cashier can do versus what requires supervisor approval. Price overrides, refunds, voids, and manual discounts should be controlled. That does not mean making the process difficult. It means creating accountability while keeping service efficient.
Cash handling procedures matter as well. Decide how opening balances are entered, how cash drops are recorded, and how end-of-day reconciliation is completed. Businesses that skip this structure often run into preventable discrepancies that waste time and create unnecessary tension with staff.
When card payments are involved, device reliability and transaction visibility are critical. Staff should know exactly how to confirm approved payments, retry failed transactions, and handle partial payment scenarios. Clear process reduces checkout mistakes and customer disputes.
How to set up retail checkout for staff efficiency
Even the best checkout system fails if staff are not trained properly. Training should cover more than how to ring up a sale. Cashiers need to know how to search products, apply promotions correctly, handle exchanges, process returns, split payments, reprint receipts, and respond calmly when a transaction does not go as planned.
Short, practical training is usually more effective than long technical sessions. Walk staff through real store scenarios. Let them practice common tasks before the store gets busy. If possible, create a simple operating guide at the counter so new employees can follow the process without needing constant manager support.
It is also worth identifying where mistakes are most likely to happen. In some stores, it is discounting. In others, it is barcode mismatches or return handling. Training should reflect those realities rather than generic software features.
Test before launch, then refine
A checkout setup should never be considered finished the moment the equipment turns on. Before going live, run test transactions from start to finish. Scan products, apply discounts, process cash and card payments, issue receipts, complete a refund, and check whether inventory updates correctly. If your store has multiple users, test access permissions as well.
This stage often reveals practical issues that are easy to miss during installation. A scanner may not read certain labels. Tax may be assigned incorrectly. A printer may be too far from the cashier station. A return may require too many steps. Fixing these before customers are involved saves time and protects the store’s reputation.
After launch, review what happens during actual trading hours. Watch line length, failed scans, payment issues, and staff hesitation points. Good retail checkout is not static. It improves with observation and adjustment.
Build checkout as part of the wider business system
The most effective retail checkout setups do not operate in isolation. They connect with inventory management, purchasing, reporting, promotions, and in some cases ecommerce or customer marketing. That connection gives owners a clearer view of what is selling, where stock is moving, and which staff or locations need attention.
For businesses in growth mode, this matters a lot. A checkout counter that only processes payments may be enough for a very small operation, but once product volume increases or multiple branches are involved, disconnected systems create extra work fast. A more integrated setup supports better decisions and fewer manual fixes.
That is why many retailers benefit from working with a technology partner that understands both the software and the day-to-day reality of store operations. In practice, the right setup is rarely about having the most advanced tools. It is about having the right configuration, reliable support, and a process that fits how your business actually runs.
If you are deciding how to set up retail checkout, focus less on what looks impressive and more on what will help your team serve customers accurately, quickly, and consistently every day. That is what turns checkout from a bottleneck into a strength.